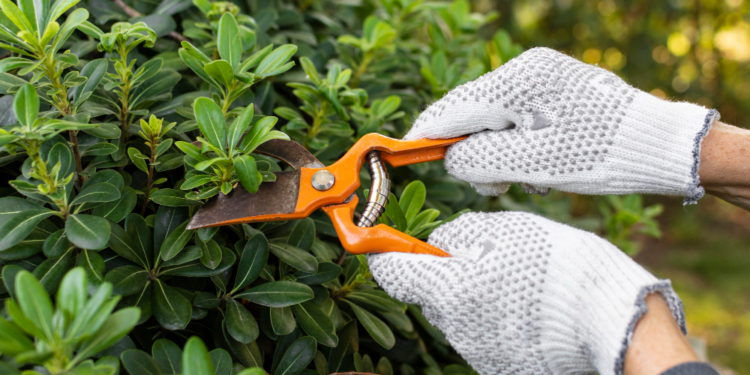
Working with blunt garden shears can turn the joy of gardening into a frustrating chore. Picture this: effortlessly gliding through stems precisely, making clean cuts, and promoting healthier plants. This guide will explore the art of sharpening garden shears in just four simple steps. Let’s transform your pruning experience!
Pruning with precision is an art, and your tools play a crucial role. Dull garden shears can hinder your gardening joy, but fear not! In this guide, we’ll walk you through the four essential steps to bring back the sharpness to your shears.
What You’ll Need
Equipment / Tools
- Wrench to fit the tool
- File (fine or medium coarse)
Materials
- Rag
- Household cleaner or rubbing alcohol
- Scrubbing pad
- Steel wool
- WD-40 or other solvent
- Tool oil (3-In-1 or similar)
Step 1: Disassemble the Tool
Before delving into the sharpening process, assess whether your garden shears can be disassembled. This allows for a more thorough cleaning and sharpening of the blades. If disassembly is possible, follow these steps:
- Carefully use the appropriate wrench to loosen hex heads, Allen bolts, or screws holding the shears together.
- Keep an eye out for small pieces like lock washers, spacers, and nuts, laying them out in order.
- Work over a clear surface to prevent losing interior pieces unexpectedly.
- Capture a picture before disassembling to serve as a guide during reassembly.
Step 2: Clean and Dry All Parts
Garden shears accumulate grime over time from plant residue, sap, and dirt. Clean tools ensure effective sharpening and smoother operation. Follow these cleaning steps:
- Use hot, soapy water and a rag to clean the blades thoroughly.
- For stubborn sap, employ a household cleaner or rubbing alcohol with a scrubbing pad.
- Remove rust using steel wool and a penetrating solvent like WD-40.
- Rinse the tool parts in water and ensure they are thoroughly dry.
Step 3: Sharpen the Blades
Sharpening the blades is a crucial step in rejuvenating your garden shears. Follow these guidelines:
- Identify the angled edge, or angle, on one side of the pruner blade.
- Only sharpen the side with the angle to maintain the blade’s cutting action.
- Grasp the file handle firmly, apply light pressure, and file in one direction to match the bevel angle.
- Inspect the shiny edge for nicks and file until smooth. Remove any burrs on the opposite side.
Step 4: Oil and Reassemble Your Shears
Complete the process with a final touch of oil and reassembling the shears:
- Apply a light oil coating to the metal parts using a rag.
- Reassemble the shears, tightening the bolts snugly but not excessively.
- Avoid overtightening, ensuring easy disassembly for future maintenance.
- If the shears feel stiff, slightly loosen the bolt until the blades move effortlessly.
Safety First: A Friendly Warning
Sharpening blades involves working with very sharp edges. We’ll guide you on safe practices to minimize accidents and ensure a worry-free sharpening experience.
Conclusion
In conclusion, sharpening your garden shears is a simple yet transformative process. Embrace the cutting edge, and watch your gardening experience reach new heights.
FAQs
Can I sharpen different types of garden shears with these steps?
Yes, these steps work for bypass pruners, anvil pruners, and loppers.
Is it necessary to disassemble my shears for sharpening?
If your shears can be taken apart, it makes cleaning and sharpening easier. If not, skip disassembly and proceed with the cleaning steps.
How often should I sharpen my garden shears?
Regular sharpening is key. Aim for sharpening after every 20-30 hours of use or when you notice a decrease in cutting efficiency.
Can I use any oil for coating my shears?
Yes, a light tool oil like 3-In-1 is suitable. It provides protection without compromising functionality.
What if I notice nicks after sharpening?
If nicks persist, continue filing until the edge is smooth. Patience is key to achieving a flawless, sharp edge.
Transform your gardening routine by embracing the simplicity of sharpening your garden shears. Follow these steps, and your shears will be ready for a season of precise pruning. Happy gardening!

Discussion about this post